WBlog - Clean and Responsive Design
Thank You For purchasing WBlog - Clean and Responsive Design.
Note: All The Images which include in the package are only for demo purpose, you can't use this furthur. if you want any third Party assets like PSDs you can get on request at info@webxitsolutions.com. If you have any Query, Issue or Suggestions feel free to contact us via our live support Webx IT Solutions or email us at support@webxitsolutions.com.
Installation
For 3x Versions
1. Unzip the downloded Zip file.
2. Upload wblog-cleanandresponsivedesign.ocmod.zip files via Opencart admin -> Extensions -> Installer using the Upload button.
3. When zipper file is uploaded, Go to Admin -> Extensions -> Modification -> click the Refresh button in the top right corner.
4.Assign Permission to your User Group.
5. A menu of WBlog - Clean and Responsive Design display on left Menus.
6. Now WBlog - Clean and Responsive Design is installed. Congratulations!
For 2x Versions
Manual Installation Via FTP
1. Connect to you server via FTP or log into cPanel file manager. Open OpenCart Root folder
2. Extract wblog-cleanandresponsivedesign.ocmod.zip.
3. Upload Files which is available under the ' Upload ' folder which you recently extracted.
4. Rename install.xml file to wblog-cleanandresponsivedesign.ocmod.xml.
5. Now Go to Admin -> Extensions -> Modification -> click the Refresh button in the top right corner.
6. Assign Permission to your respected user group.
7. A menu of WBlog - Clean and Responsive Design appear on left Menus.
8. Now WBlog - Clean and Responsive Design is installed. Congratulations!
Settings
Blogs Section
Add Post
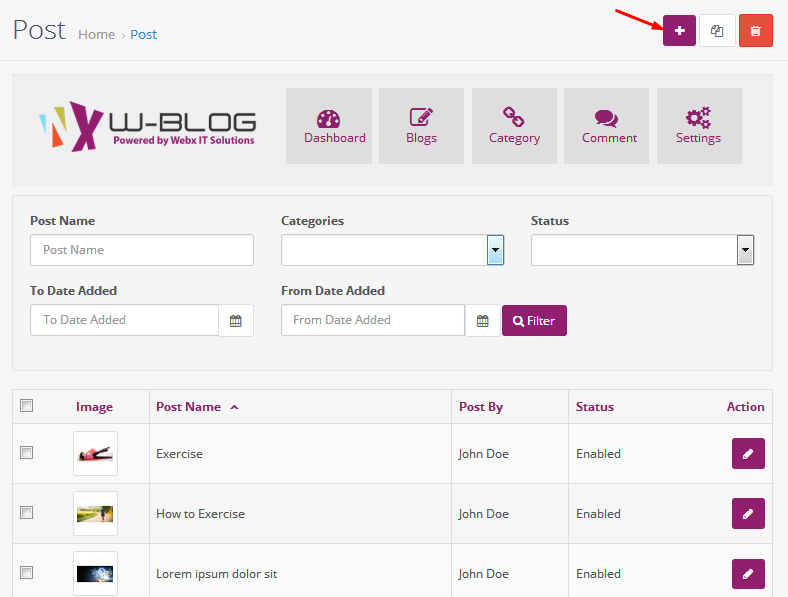
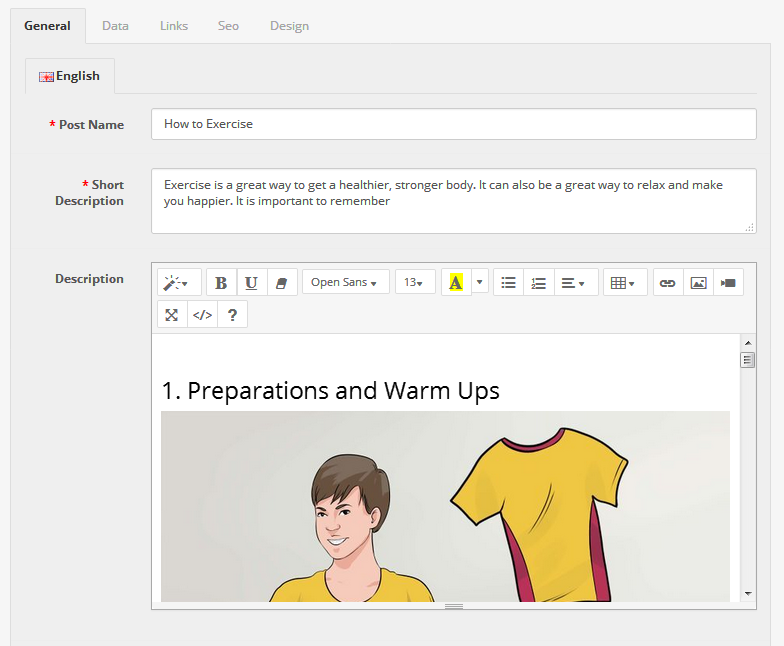
Add Post Name, Decription,Short Description,Post Tags,Meta Tag Title etc.
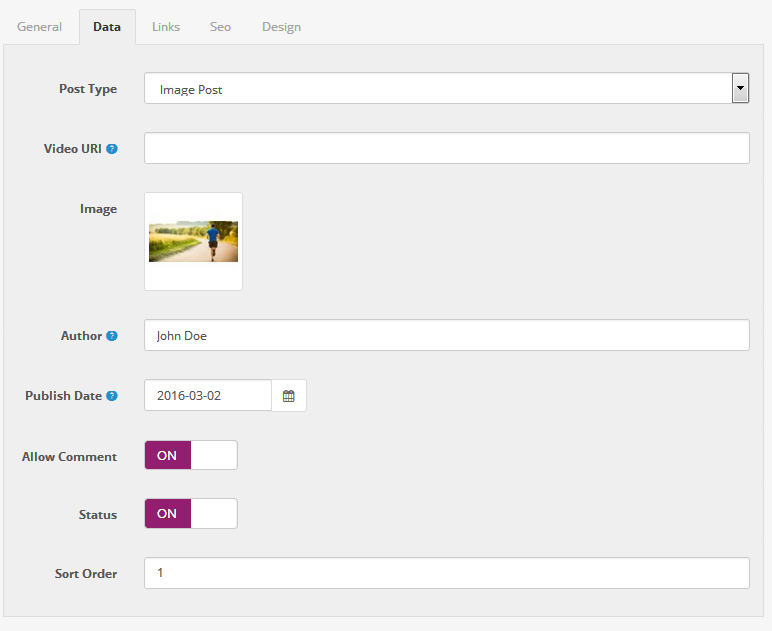
Post type :Select type of Post Image or Video
Add Image,Author Name, Publish Date.
Allow Comment : Enable or Disable the status of comments
Status : Enable or Disable the status of Post
Sort order: Adc sort order of post
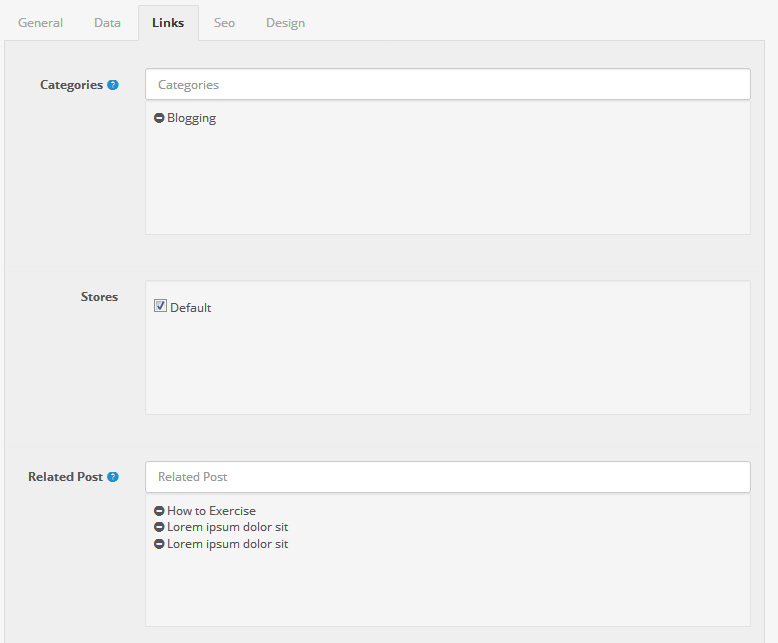
Select Category, Store, Related Post etc.
Category Section
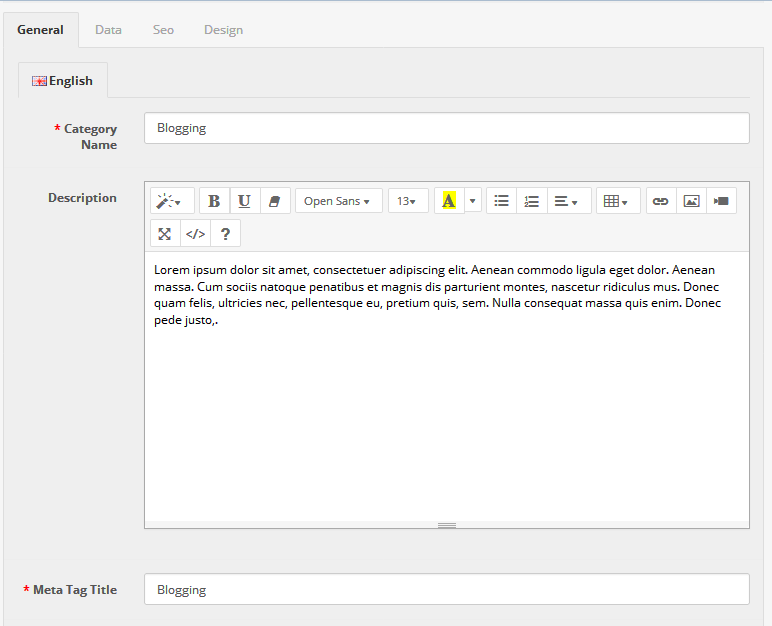
Add Category
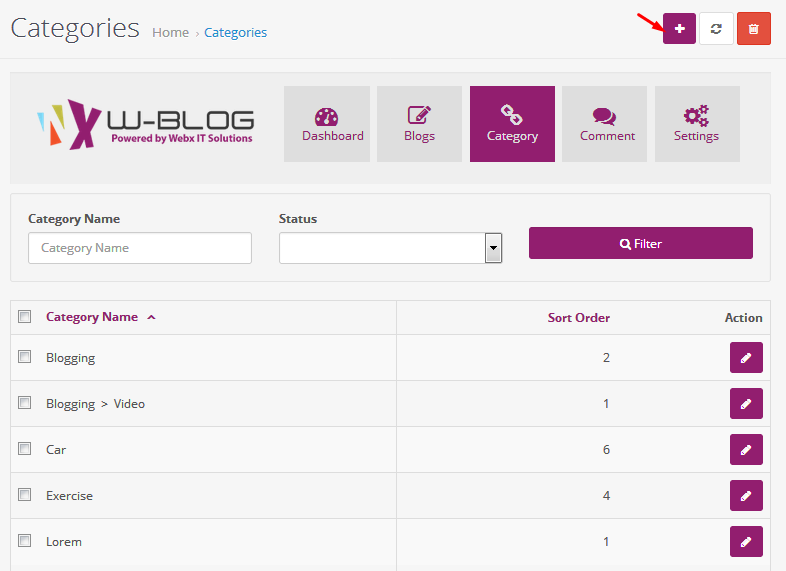
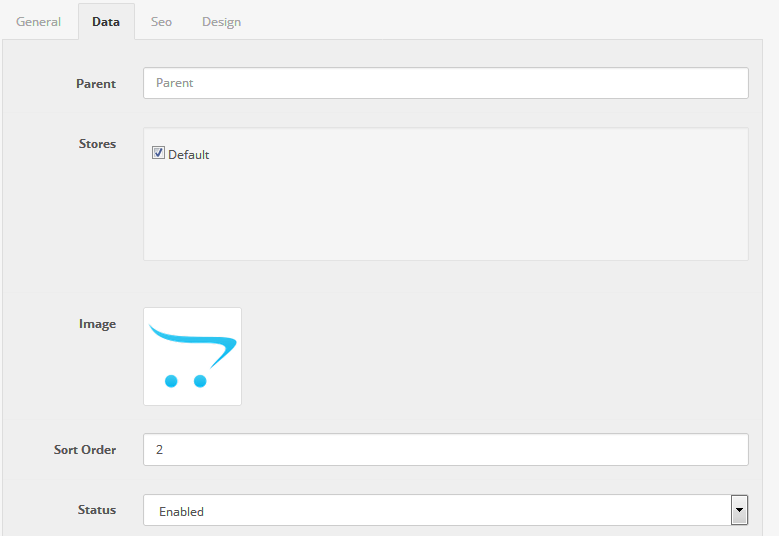
Add Category Name, Decription,Meta Tag Title,Meta Tag Keywords etc.
Select store,status, Add Image, sort order.
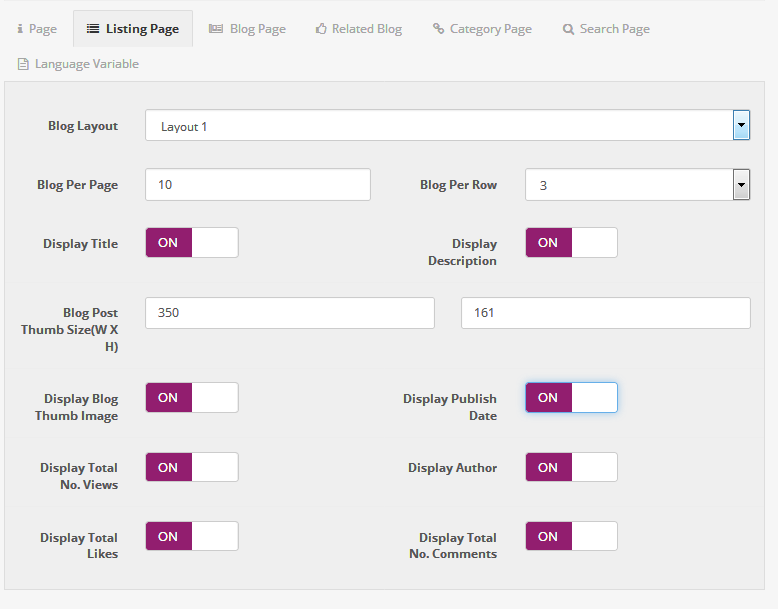
layout Settings Section
Listing Page Settings
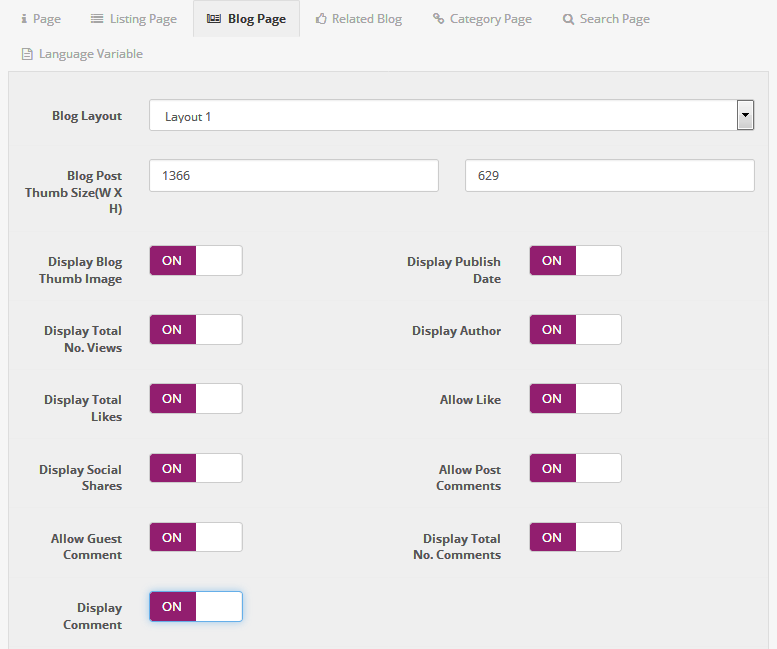
Blog Page Settings
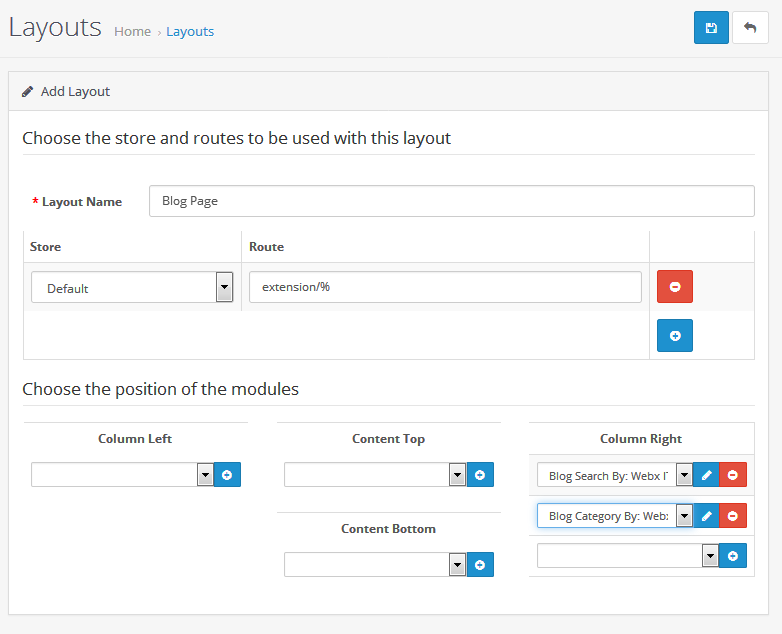
Blog Home Page Setting
3xGo to Design Layouts > Create Blog Page , Add route and select the modules.
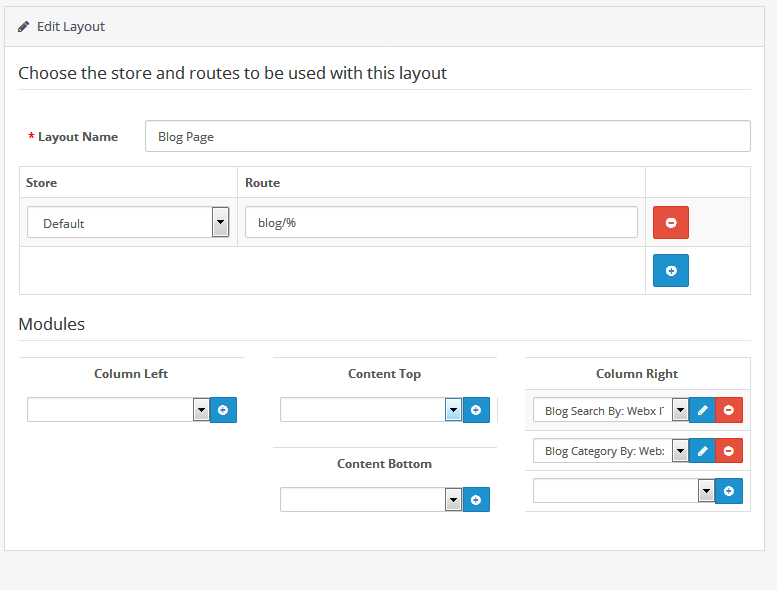
2x
Go to Design Layouts > Create Blog Page , Add route and select the modules.
Need Help ?
We are happy to help you if you have any queries relating to this theme. You can contact us and Live chat with support desk Webx IT Solutions
Need Help ?
We are happy to help you if you have any queries relating to this theme. You can contact us and Live chat with support desk Webx IT Solutions